How to build Gephi
Follow this guide to start developing the Gephi source code and test your changes.
Introduction
Netbeans Platform
The NetBeans Platform is a generic framework for Swing applications. It provides the "plumbing" that, before, every developer had to write themselves—saving state, connecting actions to menu items, toolbar items and keyboard shortcuts; window management, and so on.
Gephi Architecture
Gephi software architecture is modular and therefore each feature is split into modules. Modules depend on each other, and Gephi modules can either depend on other Gephi modules or Netbeans Platform modules. Plugins developers simply create new modules that contains their code, add dependencies to Gephi modules, and distribute their plugins by creating an NBM package. See Gephi APIs documentation to learn more about the API plugins that can be used by modules.

Build Gephi
Requirements
- Java JDK 11 or later
- Apache Maven version 3.2.2 or later
Checkout and Build the sources
Navigate to the desired directory you wish to place the project via terminal, then clone the repository:
git clone https://github.com/gephi/gephi
cd gephi
Gephi uses Maven for building. Each module has its POM.xml file and there is a gephi-parent POM file that lists all the modules required to build.
Run this command to build all modules. Note that this process could take some time.
mvn clean install
Run it
Once built, Gephi can be run from the modules/application folder using a special Maven goal:
Mac/Linux:
>> cd modules/application
>> mvn nbm:cluster-app nbm:run-platform
Windows:
>> cd modules\application
>> mvn nbm:cluster-app nbm:run-platform
Building Gephi in NetBeans
Apache Netbeans is the default IDE to develop Gephi as it natively integrates with the Netbeans Platform. Loading the project is straightforward.
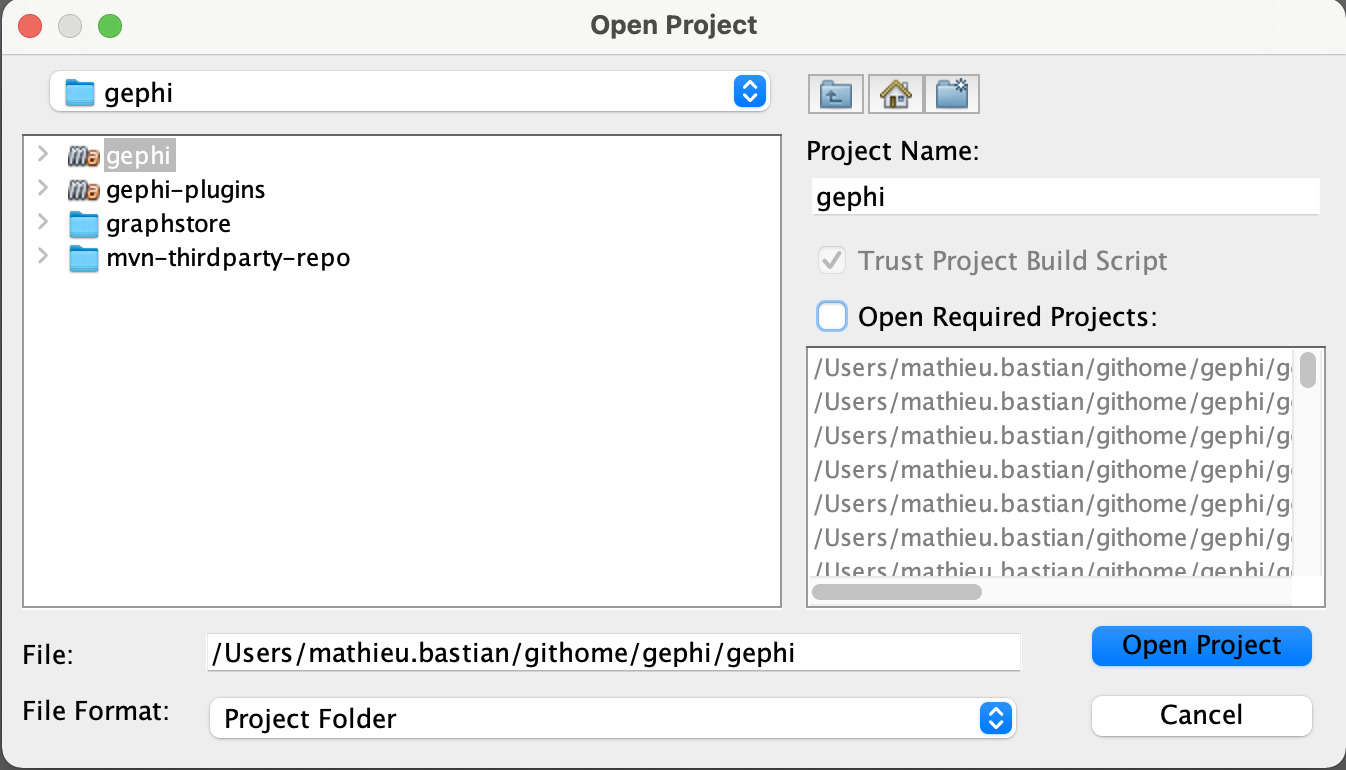
Open Netbeans and go to File > Open Project to look for the Gephi folder. Then, Open Project. Ensure the checkbox "Open Required Projects" is not selected.
Right-click on the project and select Clean and Build.

Next, in the Projects tab of the file navigator, select Gephi > Modules > gephi-app and open the application module.
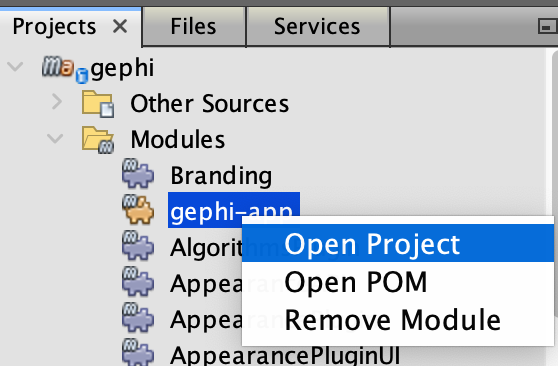
Finally, select Run from this module.

Troubleshooting
Code changes not taken in account
When you make code changes in a module, make sure to Clean and Build this module before Running Gephi again as otherwise your changes won't be taken in account.
Building Gephi in IntelliJ IDEA
As Gephi is a Maven project it is well supported by IntelliJ but requires some tweaks to work properly.
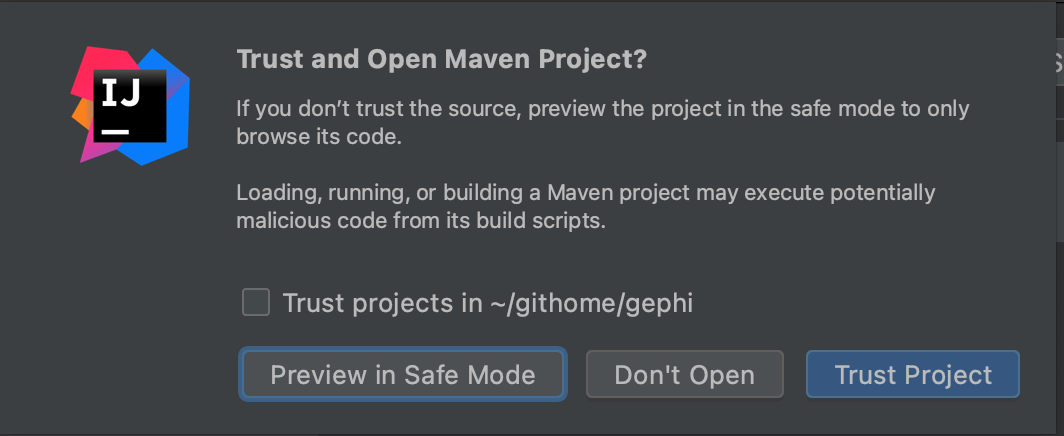
Open IntelliJ and open the Gephi folder. You'll be asked whether you want to Trust this Maven repository. Select Trust Project.
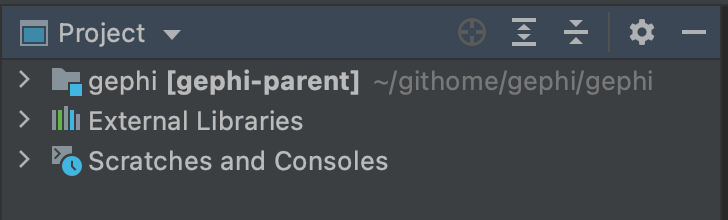
IntelliJ then takes some time to scan the project and resolve dependencies. Once completed, you should see Gephi properly listed as a project in the Project pane.
Then, navigate to IntelliJ's preferences panel Build, Execution, Deployment > Build Tools > Maven > Runner and select the option Delegate IDE build/run actions to Maven. This is a critical step.

Next in the top-level menu select Build > Build Project.
If it fails with and error like javac flag not found --release, you would need to fo back to Build, Execution, Deployment > Build Tools > Maven > Runner and add an Environment Variables with JAVA_HOME=<path of the selected JDK>

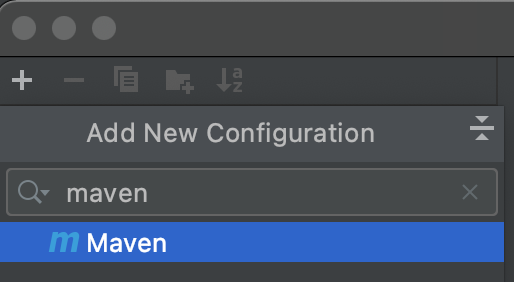
Once completed, create a run configuration by following Run > Edit Configurations... in the top-level menu.

Here, select Add new configuration and search for Maven.
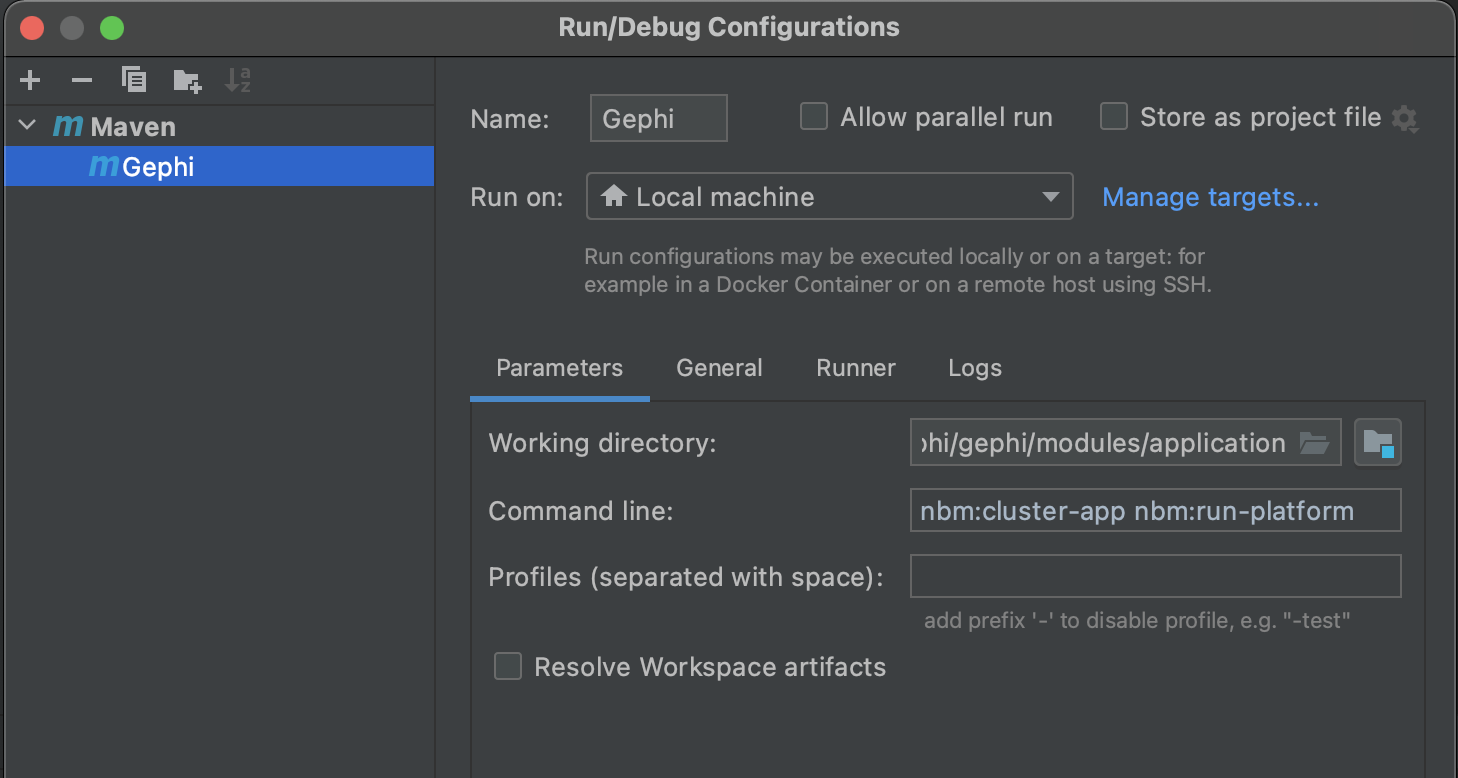
Next, we'll configure two things here. Enter nbm:cluster-app nbm:run-platform into the Command line field and select the modules/application sub-directory into the Working directory chooser. Give Gephi as name for the configuration.
Finally, you can run Gephi by selecting Run > Run 'Gephi' from the top-level menu.

Troubleshooting
Debugging
At this point (IntelliJ 2021.1) debugging doesn't work out of the box. To enable debugging in IntelliJ follow these steps:
Alter your Run configuration and add
-Dnetbeans.run.params.debug=-J-agentlib:jdwp=transport=dt_socket,suspend=n,server=n,address=8000to the command line, afternbm:cluster-app nbm:run-platform.Create a new Remote JVM Debug Run configuration and select Listen to Remote JVM. Make sure to configure 8000 as the port as well. You can name this configuration Gephi Debug.
Now, start the Gephi Debug by selecting the Debug button. The debugger starts and waits for Gephi to start as well. Then, start Gephi in Debug mode. The debugger should now log Connected to the target VM, address: 'localhost:8000', transport: 'socket' and properly stop at your breakpoints.